How to make an Object Theme

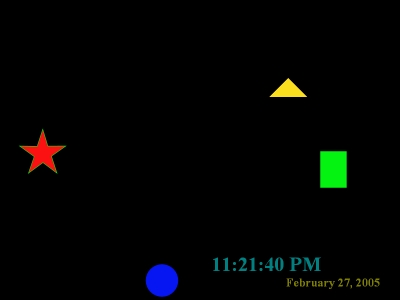
KN TimeSaver© allows you to make your very own "Object Themes". As pictured to the left, the 4 shapes are the objects in an "Object Theme" called "Shapes". These objects move around the screen and bump off of each other when the screensaver is active. This tutorial will run over the basics of how "Shapes" was made.
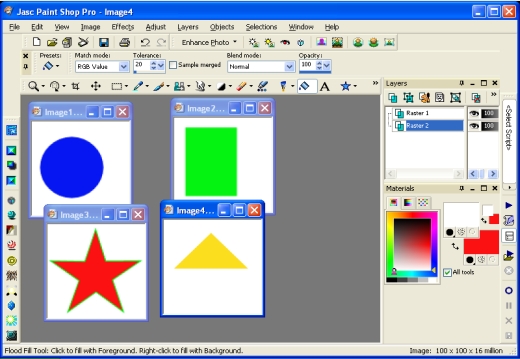
 
Start by making 4 different objects in a graphics program such as PaintShop (shown here), PhotoShop or whatever program you decide. These can include digital pictures that you took. For the purposes of this tutorial basic shapes have been used to keep things simple. It is a good idea to keep these objects under 200 pixels wide and high - the reason being, that large objects will constantly be bumping off each other and causing chaos. In this case smaller IS better.
 

You will now need to open the Object Theme Maker. This can be done in various different ways. If you chose to have a desktop icon installed it will be as easy as clicking on the icon shown on the left. Otherwise you can go to your programs menu and find "KN TimeSaver" and in the child directory click "Object Theme Maker".

You can also access the Object maker by right clicking on your desktop and going to "Properties" then "ScreenSaver" tab, then the "Settings" tab, then the "Objects" tab and then click the button at the bottom that says "Make Object Theme"

 
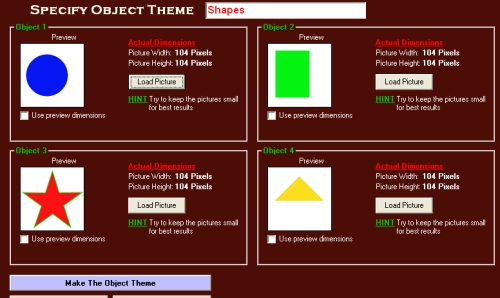
With the Object Theme Maker open you can then load each picture into the preview windows. It is important to put the MOST DESIRED object as "Object 1" and then the next most desired object as "Object 2" ... etc. where "Object 4" will be the least desired object. This is important because if the user decides to only have 1 object showing, it will be "Object 1" and if the user decides to have 2 objects, they will be "Object 1" and "Object 2" ...etc.

When you have loaded all the pictures, specify a name for the object theme in the top text box and then click "Make The Object Theme"

NEXT     Back to Main