|
How to make an Object Theme - cont. |
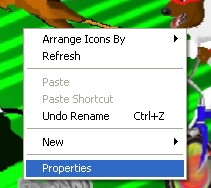
| Now Right Click on your desktop and click on "Properties" |
|
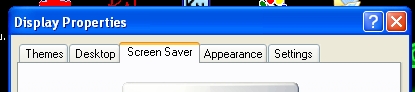
| Then click on the "Screen Saver" tab |
 |
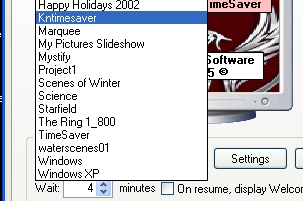
| Then on the dropdown menu select Kntimesaver and then click the "Settings" button |
 |
| Then click on the "Objects" tab. You should now see your Object Theme listed amongst the other themes. You can select it and then click the big button at the bottom that says "Click Here to Apply Settings" |
 |
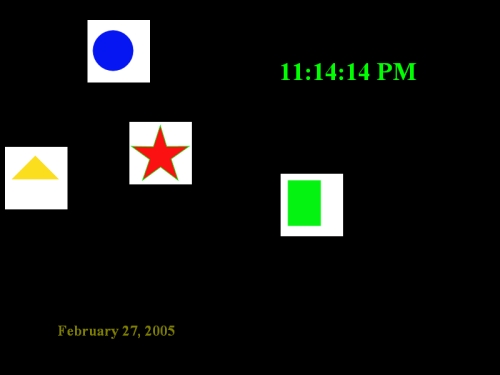 |
Back on the screen saver selection menu you can now click the "Preview" button to see what your new Object Theme looks like. To the left we can see what "Shapes" looks like. "Shapes" doesn't look very good... the objects all appear to be white squares with other objects inside! We will fix this in the following steps. |
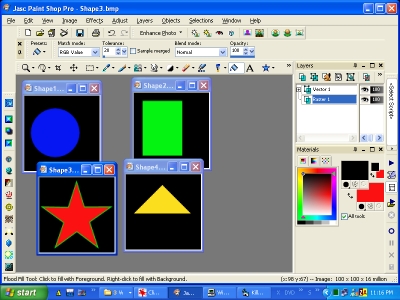
| Back in our graphics editing program (eg.
PaintShop - shown here) we can open up our objects again and then fill in
black all around them. This is very easy in this example because we are
simply replacing the white with black. However, let's suppose one of your
objects was a picture of a motorcycle parked on a street. And let's suppose
that you wanted JUST the motorcycle for your object and not all the
surrounding buildings, street etc. This is more involved, because you can't
simply use the fill tool to fill in black all around the motorcycle. In this
case you would have to zoom the picture in close and very carefully draw
black around the motorcycle (often one pixel at a time).
This process is called Blackening. |
 |